
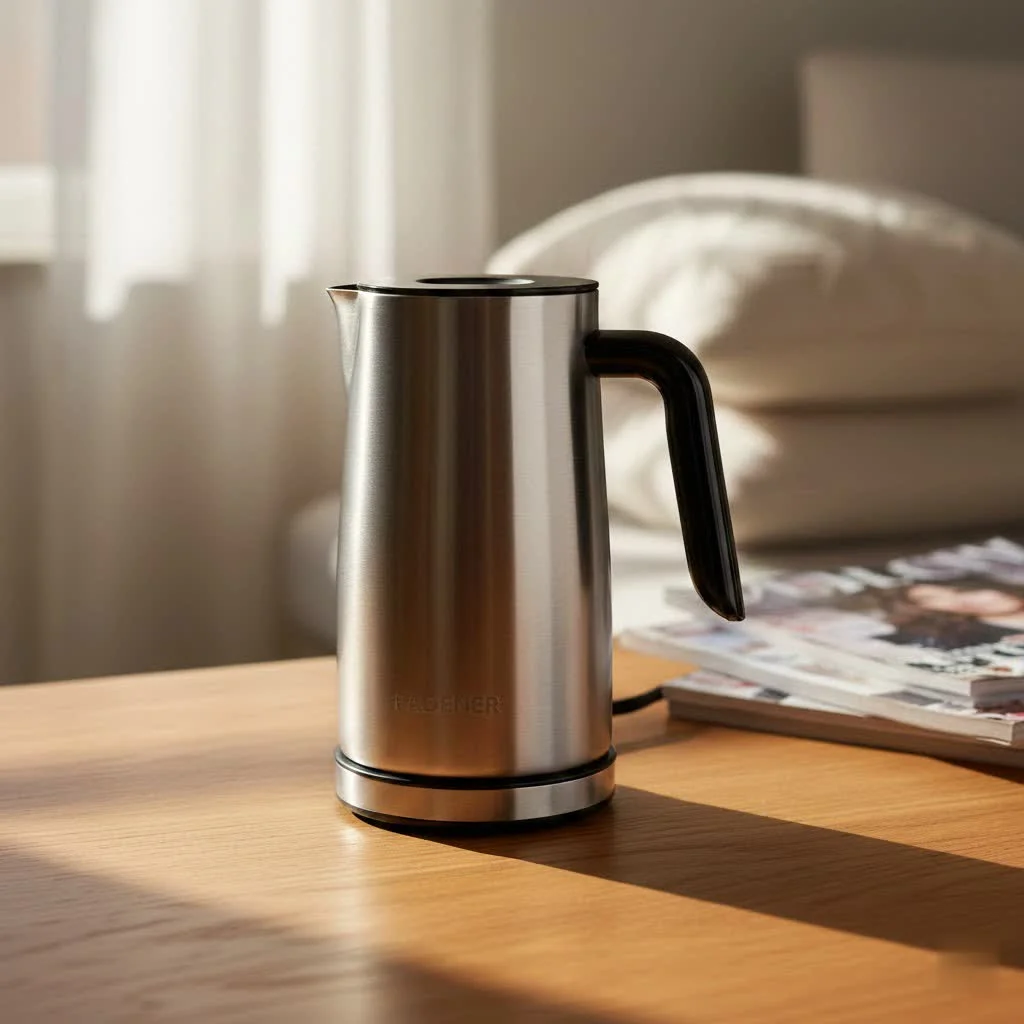
Do you dream of starting your day with a perfectly frothed cappuccino or a velvety latte, but without the hassle or expense of a professional espresso machine? The world of home coffee has transformed, making barista-quality beverages accessible to everyone. Among the most versatile and beloved tools for achieving this creamy perfection is the manual milk frother. These simple yet ingenious devices offer a cost-effective and portable way to improve your daily brew, transforming ordinary milk into a delightful cloud of foam. Whether you’re a seasoned coffee aficionado or just beginning your journey into homemade lattes, a manual milk frother could be the major upgrade your kitchen needs.
Milk Frother: Your Comprehensive Guide from A to Z
What is a Manual Milk Frother and Why Do You Need One?
A manual milk frother is a non-electric device designed to aerate milk, incorporating air to create a light, bubbly, or creamy foam. Its primary function is to transform the texture of milk, making it suitable for a variety of popular beverages. Unlike their electric or steam-powered counterparts, manual frothers rely on your own effort to achieve this transformation, offering a hands-on approach that many coffee enthusiasts appreciate.
The benefits of integrating a manual milk frother into your home routine are numerous. Firstly, they are significantly more affordable than electric models or espresso machines with steam wands, making cafe-quality drinks accessible on a budget. Their compact size ensures they take up minimal counter space and are often highly portable, perfect for travel or small kitchens. Manual frothers provide a unique level of control over the frothing process. You can dictate the amount of air introduced, allowing you to customize the foam’s consistency to your exact preference. From airy cappuccinos to smooth lattes and decadent hot chocolates, a manual frother opens up a world of delicious possibilities right in your kitchen.
Exploring the Types of Manual Milk Frothers
While all manual frothers share the goal of creating delightful milk foam, they achieve it through slightly different mechanisms. Understanding these variations will help you choose the best tool for your frothing style.
Handheld (Wand) Frothers
These are perhaps the most common and recognizable type of manual milk frother. A handheld frother typically consists of a small, battery-operated or rechargeable whisk on the end of a wand. To use, you simply immerse the whisk into your milk, press a button to activate the motor, and move the wand up and down to incorporate air. They are incredibly easy to use, highly portable, and deliver quick results, making them ideal for a single serving or on-the-go frothing. However, they do not heat the milk, so you will need to warm your milk separately if you desire a hot beverage. The foam produced by handheld wands tends to be lighter and airier, though consistent technique can yield surprisingly good results.
Pump (French Press Style) Frothers
Resembling a miniature French press, a pump frother consists of a carafe, usually made of glass or stainless steel, and a lid with a plunger that has a fine mesh screen. To operate, you pour warm milk into the carafe, place the lid on, and then vigorously pump the plunger up and down. This action forces milk through the mesh, creating a denser, creamier foam than what a handheld whisk typically produces. Like handheld frothers, pump frothers usually do not heat the milk, requiring you to pre-warm your milk on the stovetop or in the microwave. They are a good choice for those who prefer a richer, more substantial foam and don’t mind a bit of manual effort.
Manual Milk Frother Comparison Table
|
Our Picks for the Best Milk Frother in 2026
As an Amazon Associate I earn from qualifying purchases.
|
||
| Num | Product | Action |
|---|---|---|
| 1 | Zulay Powerful Milk Frother for Coffee with Upgraded Titanium Motor - Handheld Electric Whisk, Milk Foamer, Mini Mixer & Coffee Blender for Frappe, Latte, Matcha, No Stand - Silver |

|
| 2 | Milk Frother, 4-in-1 Electric Milk Steamer, 350ml/11.8oz Automatic Frother Machine for Coffee, Warm and Cold Foam, Temperature Control for Latte, Cappuccino, Hot Chocolate |
|
| 3 | Nespresso Aeroccino 4 Milk Frother |
|
| 4 | Maestri House Rechargeable Milk Frother with Stand, LunaFro Handheld Electric Foam Maker Waterproof Detachable Stainless Steel Whisk Drink Mixer Foamer for Lattes, Cappuccino |
|
| 5 | Nespresso Aeroccino 3 Milk Frother, Black, Steel |
|
| 6 | Zulay Kitchen Powerful Milk Frother Wand With 2 Duracell Batteries - Ultra Fast Handheld Drink Mixer - Electric Whisk Foam Maker for Coffee, Lattes, Cappuccino, Matcha, Hot Chocolate & Creamer - Black |
|
| 7 | Milk Frother Automatic, Electric Milk Frother and Steamer Removable Dishwasher Safe, Electromagnetic Heating, for Latte, Cappuccino, Chocolate Milk, Hot & Cold Foam, |
|
| 8 | Milk Frother, 4-in-1 Milk Frother and Steamer, 10.6oz Electric Milk Steamer, Automatic Cold and Hot Foam maker for Lattes, Cappuccinos, Ceramic Lining Interior (Polished) |
|
| 9 | Zulay Kitchen Milk Frother Handheld Electric Whisk with AA Duracell Batteries – Durable Drink Mixer for Coffee, Lattes, Cappuccinos & More - Black |
|
| 10 | Keurig SimpleCafe Frother, Rechargeable Handheld Milk Frother for Lattes, Cappuccinos & Iced Coffee, USB Cord Included, Microwave-Safe Frothing Cup, Hot & Cold Foam Maker |
|
Choosing between different manual frothers often comes down to balancing cost, convenience, and desired foam quality. Here’s a quick comparison to guide your decision:
| Feature | Handheld (Wand) Frother | Pump (French Press Style) Frother |
|---|---|---|
| Price | Very Low | Low – Medium |
| Portability | High (Excellent for travel) | Medium (Countertop appliance) |
| Foam Quality | Airy, Lighter Foam | Denser, Creamier Foam |
| Heating Function | No (Requires separate heating) | No (Requires separate heating) |
| Effort Required | Moderate (Hand movement) | Moderate (Pumping action) |
| Ease of Cleaning | Very Easy | Easy (Dishwasher safe often) |
Choosing the Right Manual Milk Frother for Your Needs
Selecting the perfect manual milk frother depends heavily on your lifestyle, preferences, and how you intend to use it. Consider these factors when making your choice:
1. Usage Frequency and Volume: If you only make frothed drinks occasionally or need foam for a single cup, a handheld frother is an excellent, compact choice. For those who enjoy multiple frothy beverages daily or need to prepare milk for several servings, a pump frother might be more efficient due to its larger capacity and ability to produce consistent foam in batches.
2. Desired Foam Texture: Are you after a light, ethereal cloud for your cappuccino, or a dense, velvety microfoam for latte art? Handheld frothers generally excel at creating lighter, airier foam. Pump frothers, with their vigorous plunging action, tend to produce a richer, more substantial foam that can sometimes approach microfoam quality with practice.
3. Budget Considerations: Manual frothers are celebrated for their affordability. Handheld models are typically the least expensive entry point into home frothing. Pump frothers represent a slightly higher investment but are still significantly cheaper than electric or steam wand alternatives.
4. Kitchen Space and Portability: If kitchen counter space is a premium, or if you frequently travel and want to bring your frother along, a handheld wand is the undisputed champion of portability. Pump frothers require a designated spot but are still far less bulky than most electric frothers.
By weighing these aspects, you can pinpoint the manual frother that best aligns with your coffee ritual and kitchen setup.
Mastering the Art of Manual Milk Frothing: Step-by-Step Guide
Achieving perfect milk froth with a manual frother is a skill that improves with practice. Here’s a step-by-step guide to help you create delightful foam every time:
1. Prepare Your Milk:
- Temperature is Key: For hot drinks, you’ll need to pre-heat your milk since manual frothers don’t do this. Heat milk on the stovetop or in the microwave until it reaches an ideal temperature of 135-150°F (57-66°C). Avoid boiling, as this can scald the milk and negatively impact its flavor and frothing ability. For cold foam, simply use chilled milk straight from the refrigerator.
- Choose Your Milk Type: While whole milk with its higher fat and protein content is often recommended for its rich, stable foam, skim milk can produce a lighter, airier froth. Many non-dairy alternatives, particularly “barista blend” oat or soy milks, are also formulated to froth beautifully.
2. Frothing with a Handheld Wand Frother:
- Pour Milk: Pour your chosen milk into a tall, narrow mug or pitcher, filling it no more than one-third to one-half full to allow for expansion.
- Immerse and Aerate: Submerge the whisk head of your frother just below the surface of the milk. Turn it on and gently move it up and down for about 10-15 seconds. This initial step introduces air into the milk, creating the first layer of bubbles. You should hear a soft “sucking” sound.
- Integrate and Refine: Once you have a good volume of bubbles, lower the whisk deeper into the milk. Hold it steady or move it in slow, circular motions to create a vortex. This action integrates the air bubbles, breaking down larger ones into smaller, finer microfoam, and evenly distributing the foam throughout the milk. Continue for 30-60 seconds, or until you achieve your desired consistency and volume.
- Tap and Swirl: Gently tap the pitcher on your counter a few times to release any remaining large air bubbles. Then, swirl the milk in the pitcher for a few seconds to achieve a glossy, integrated texture.
3. Frothing with a Pump (French Press Style) Frother:
- Pour Milk: Fill the pump frother carafe with your pre-heated milk, again no more than one-third to one-half full.
- Pump and Froth: Place the lid with the plunger onto the carafe. Grip the handle firmly and begin to pump the plunger up and down vigorously. Keep the mesh screen submerged just below the milk surface for the initial pumps to incorporate air, then move it through the entire volume of milk.
- Check Consistency: Continue pumping for 30-60 seconds, or until the milk has doubled in volume and reached your desired frothiness. The more you pump, the thicker the foam will become.
- Rest, Tap, and Swirl: Let the frothed milk rest for a moment. Then, remove the lid, tap the carafe gently, and swirl the milk to combine any separated foam and milk, creating a smooth, consistent texture.
4. Serve Immediately:
- For the best experience, pour your frothed milk into your coffee or other beverage immediately. This prevents the foam from separating from the liquid milk, ensuring a cohesive and delicious drink.
Tips for Perfect Milk Froth Every Time
Achieving consistently perfect milk foam with a manual frother is a blend of science and art. Here are some expert tips to refine your technique and get the most out of your frother:
- Start with Fresh, Cold Milk: Whether you’re heating it up or making cold foam, fresh, cold milk straight from the refrigerator generally froths better than milk that has been sitting out. The proteins in cold milk are more receptive to aeration.
- Don’t Overfill: that milk volume increases significantly when frothed. Overfilling your frother can lead to spills and less effective aeration. Always adhere to the recommended fill lines, typically no more than a third to half full.
- Angle Matters (for handheld): When using a handheld frother, initially keeping the whisk at a slight angle just beneath the milk’s surface helps to efficiently draw air in. As the volume increases, adjust your angle to create a swirl that integrates the air.
- Listen to Your Frother: For handheld wands, an initial gentle “sucking” sound indicates you’re incorporating air correctly. Once that sound fades, you’re primarily integrating the air, creating finer bubbles.
- Experiment with Milk Types: Different milks froth differently. Whole milk provides a rich, creamy foam, while skim milk yields a lighter, airier one. Non-dairy options like oat and soy milk (especially barista blends) can also produce excellent results. Don’t be afraid to experiment to find your favorite.
- Heat Separately: Since most manual frothers don’t heat, ensure your milk is at the optimal temperature (135-150°F / 57-66°C) before frothing for hot beverages. This temperature enhances the milk’s sweetness and texture. “The ideal temperature is crucial for both flavor and foam stability, preventing the milk from becoming too thin or too dense,” says a seasoned barista.
- Tap and Swirl for Consistency: After frothing, gently tap the bottom of your pitcher or carafe on the counter. This helps to break down any remaining large, undesirable air bubbles. Then, swirl the milk vigorously for a few seconds to create a silky, homogeneous texture, often referred to as microfoam, which is ideal for pouring.
Maintaining Your Manual Milk Frother for Longevity
Proper care and cleaning are essential to ensure your manual milk frother remains a dependable tool in your kitchen for years to come. Neglecting maintenance can affect performance and hygiene.
- Clean Immediately After Use: Milk residue can dry and harden quickly, making it difficult to remove later. Rinsing your frother with warm water immediately after each use is the best practice. For handheld wands, you can often briefly run the whisk in a glass of clean water to dislodge milk.
- Thorough Cleaning: For handheld frothers, detach the whisk head if possible and wash it with warm soapy water. Wipe down the handle and battery compartment (if applicable) with a damp cloth, being careful not to immerse the electronic components. For pump frothers, disassemble all parts (carafe, lid, plunger, mesh screen) and wash them thoroughly with warm soapy water. Many pump frother carafes are dishwasher safe, but always check the manufacturer’s instructions.
- Avoid Abrasives: Do not use harsh detergents, abrasive sponges, or metal brushes, as these can scratch the surfaces of your frother, especially stainless steel or plastic components.
- Dry Completely: Ensure all parts are completely dry before reassembling or storing. This prevents mold and mildew growth and preserves the frother’s components.
- Battery Care: If your handheld frother is battery-operated, remove the batteries if you plan not to use it for an extended period. This prevents battery leakage which can damage the device.
By following these simple cleaning and maintenance tips, your manual milk frother will continue to create delicious foam for countless cups of coffee.
Conclusion
The journey through the world of manual milk frothers reveals them as indispensable tools for any home coffee enthusiast. They embody a perfect balance of affordability, portability, and user control, empowering you to craft a wide array of frothy beverages without needing expensive equipment. Whether you opt for the simplicity of a handheld wand or the rich foam of a pump-style frother, the ability to transform ordinary milk into a creamy, delightful texture is now firmly within your grasp.
Embrace the hands-on experience, experiment with different milks and techniques, and discover the joy of creating cafe-quality drinks right in your own kitchen. With a manual milk frother, your morning coffee or afternoon treat will never be the same. So, what delicious frothed concoction will you create first?
Frequently Asked Questions
Can a manual frother make foam suitable for latte art?
While achieving professional-grade microfoam for intricate latte art is challenging with manual frothers, pump-style frothers, with proper technique and practice, can produce a denser, creamier foam that allows for basic designs like hearts or leaves. Handheld frothers typically create a lighter, airier foam that is less ideal for detailed art but still adds a beautiful top layer to your drink.
What kind of milk froths best with a manual frother?
Whole milk is generally considered the best for frothing due to its optimal balance of fat and protein, resulting in a rich, stable, and creamy foam. Skim milk can produce a lighter, larger-bubbled foam. For non-dairy options, barista-style oat milk and soy milk are often recommended as they are formulated to froth well and create a more stable foam.
Do manual milk frothers heat the milk?
No, manual milk frothers do not heat the milk. They are solely designed for aerating milk to create foam. If you desire hot frothed milk for your beverage, you will need to heat the milk separately on a stovetop or in a microwave to your preferred temperature (ideally 135-150°F or 57-66°C) before using the manual frother.
How long does it typically take to froth milk manually?
The time required to froth milk manually can vary depending on the type of frother, the milk used, and your desired foam consistency. Generally, with a handheld wand frother, you can achieve a good amount of foam within 30-60 seconds. Pump frothers might take a similar amount of time, around 30-60 seconds of vigorous pumping, to reach optimal frothiness.
Are manual milk frothers difficult to clean?
Manual milk frothers are generally very easy to clean. Their simple design with fewer components makes them straightforward to maintain. It is best to clean them immediately after each use with warm, soapy water to prevent milk residue from drying. Many parts of pump frothers are often dishwasher safe, while handheld wands require a quick rinse of the whisk and a wipe-down of the handle.
Get our weekly buyer guide
Practical specs, not advice. Unsubscribe anytime.