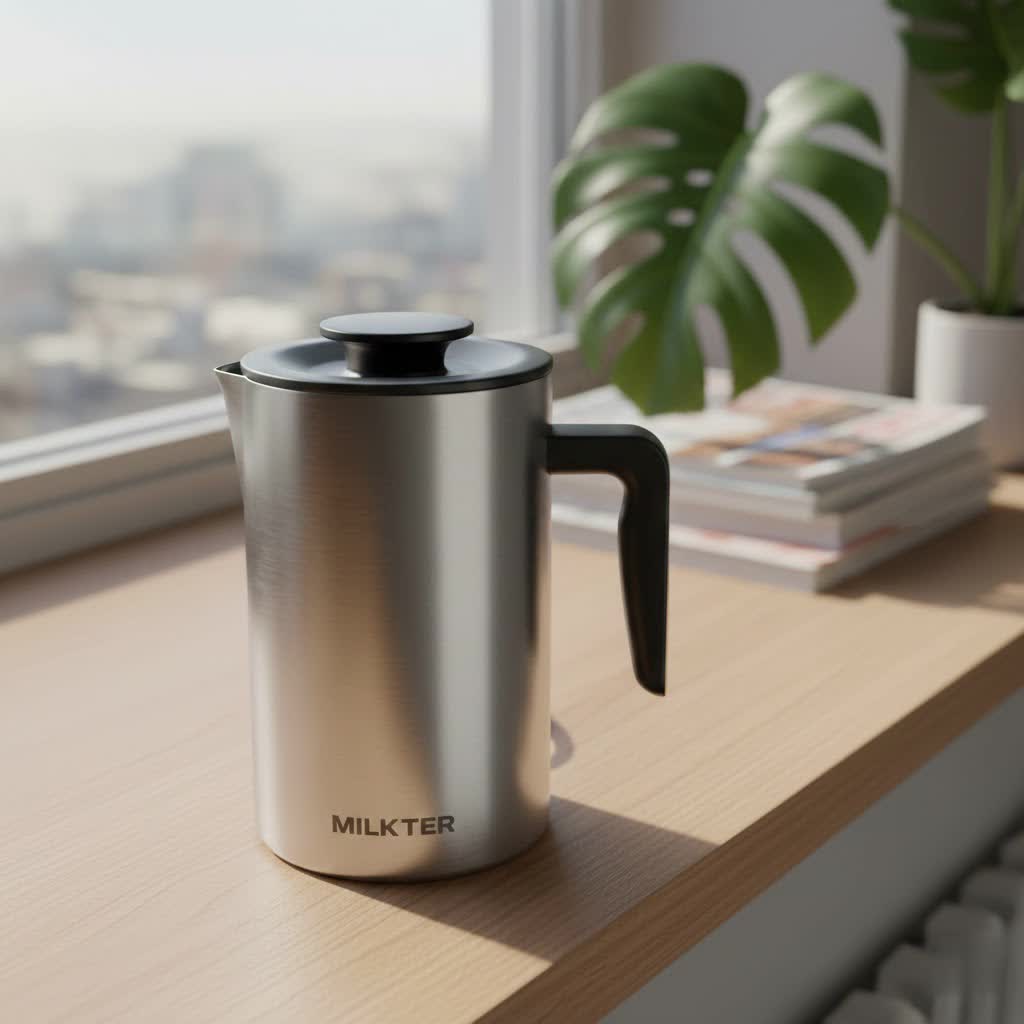
The aroma of freshly brewed coffee is a delight, but for many, the true indulgence comes with a perfectly frothed milk topping. If you’ve ever dreamt of crafting barista-quality lattes, cappuccinos, or macchiatos in your own kitchen, the Nespresso Aeroccino milk frother is designed to turn that dream into a delightful reality. This innovative device makes creating creamy, airy, or dense milk foam incredibly simple, transforming your daily coffee ritual into an extraordinary experience.
What is a Nespresso Aeroccino Milk Frother and Why Do You Need One?
A Nespresso Aeroccino milk frother is an automatic, standalone device specifically engineered to create luxurious hot or cold milk froth with minimal effort. While often paired with Nespresso coffee machines, it operates independently, making it a versatile addition to any coffee lover’s setup. Its primary purpose is to heat and froth milk to various textures, providing the perfect foundation for a wide array of milk-based coffee beverages.
The benefits of incorporating an Aeroccino into your home go beyond just convenience. It saves you time and money, eliminating the need for frequent cafe visits. With a simple touch, you can enjoy customized drinks tailored to your preference, from a classic hot cappuccino with dense foam to a refreshing iced latte with light, cold froth. This opens up a world of creativity, allowing you to experiment with different milk types and temperatures to perfect your favorite drinks right on your countertop.
Exploring the Nespresso Aeroccino Family: Models and Features
Nespresso offers a range of Aeroccino models, each designed to cater to slightly different needs and preferences. The most popular models include the Aeroccino 3, Aeroccino 4, and for those requiring more volume, the Aeroccino XL.
The Aeroccino 3 is renowned for its simplicity and efficiency. It features a straightforward one-touch operation: a quick press for hot milk or hot froth, and a two-second press for cold milk froth. This model consistently produces “pillowy and well-structured foam,” which is rich and creamy, ready in approximately 60 to 80 seconds. While excellent for full-fat dairy milk, users report decent but not miraculous results with non-dairy alternatives like oat, soy, and almond milk. Its compact and quiet design ensures it fits seamlessly into any kitchen space.
Stepping up in versatility, the Aeroccino 4 introduces a more refined experience with four dedicated buttons, offering distinct options for cold froth, hot milk, warm airy foam, and warm dense foam. This allows for greater control over the texture of your froth, making it easier to create specific styles for lattes or cappuccinos. Unlike the Aeroccino 3, the Aeroccino 4 uses a single whisk for all its functions and is noted for producing high-quality foam that is pourable enough for some latte art experiments. Its enhanced features also include a lifting handle and dishwasher-safe components, simplifying cleanup.
For those with higher volume needs, such as a busy household or office environment, the Aeroccino XL is the ideal choice. As its name suggests, it boasts a significantly larger capacity, allowing for multiple servings in a single frothing cycle. This larger size, however, means it is heavier and more bulky than its counterparts and may take a bit longer to heat and froth milk, typically over two minutes. It also has a slightly higher energy consumption compared to the Aeroccino 3 and 4.
Comparison Table: Nespresso Aeroccino Models at a Glance
|
Our Picks for the Best Milk Frother in 2026
As an Amazon Associate I earn from qualifying purchases.
|
||
| Num | Product | Action |
|---|---|---|
| 1 | Zulay Kitchen Powerful Milk Frother Wand With 2 Duracell Batteries - Ultra Fast Handheld Drink Mixer - Electric Whisk Foam Maker for Coffee, Lattes, Cappuccino, Matcha, Hot Chocolate & Creamer - Black |

|
| 2 | Milk Frother, 4-in-1 Milk Frother and Steamer, 10.6oz Electric Milk Steamer, Automatic Cold and Hot Foam maker for Lattes, Cappuccinos, Ceramic Lining Interior (Polished) |
|
| 3 | Maestri House Rechargeable Milk Frother with Stand, LunaFro Handheld Electric Foam Maker Waterproof Detachable Stainless Steel Whisk Drink Mixer Foamer for Lattes, Cappuccino |
|
| 4 | Nespresso Aeroccino 3 Milk Frother, Black, Steel |
|
| 5 | Zulay Kitchen Milk Frother Handheld Electric Whisk with AA Duracell Batteries – Durable Drink Mixer for Coffee, Lattes, Cappuccinos & More - Black |
|
| 6 | Keurig SimpleCafe Frother, Rechargeable Handheld Milk Frother for Lattes, Cappuccinos & Iced Coffee, USB Cord Included, Microwave-Safe Frothing Cup, Hot & Cold Foam Maker |
|
| 7 | Nespresso Aeroccino 4 Milk Frother |
|
| 8 | Zulay Powerful Milk Frother for Coffee with Upgraded Titanium Motor - Handheld Electric Whisk, Milk Foamer, Mini Mixer & Coffee Blender for Frappe, Latte, Matcha, No Stand - Silver |
|
| 9 | Milk Frother Automatic, Electric Milk Frother and Steamer Removable Dishwasher Safe, Electromagnetic Heating, for Latte, Cappuccino, Chocolate Milk, Hot & Cold Foam, |
|
| 10 | Milk Frother, 4-in-1 Electric Milk Steamer, 350ml/11.8oz Automatic Frother Machine for Coffee, Warm and Cold Foam, Temperature Control for Latte, Cappuccino, Hot Chocolate |
|
| Feature | Aeroccino 3 | Aeroccino 4 | Aeroccino XL |
|---|---|---|---|
| Price | Moderate | Higher | Higher |
| Convenience | Very High (1 button) | High (4 buttons) | Moderate (larger size) |
| Froth Quality | Rich, creamy, thick | Varied (airy/dense) | Varied (airy/dense) |
| Capacity | 120ml (froth), 240ml (hot milk) | 120ml (froth), 240ml (hot milk) | Significantly Larger |
| Cleaning | Hand wash, non-stick | Dishwasher safe | Hand wash, non-stick |
| Control | Basic (hot/cold) | Advanced (4 settings) | Basic (hot/cold) |
| Latte Art | Difficult (too thick) | Possible | Possible |
How to Choose the Right Nespresso Aeroccino for Your Needs
Selecting the perfect Nespresso Aeroccino depends on your individual coffee habits and preferences. Consider the following factors:
- Usage Frequency and Quantity: If you’re a single user making one or two drinks a day, the Aeroccino 3 or 4 will suffice. For preparing multiple servings or for office use, the Aeroccino XL’s larger capacity is a significant advantage.
- Desired Drink Types: If you mostly stick to hot lattes and cappuccinos, the Aeroccino 3’s straightforward functions are excellent. For enthusiasts who enjoy experimenting with different foam textures for macchiatos, flat whites, or even hot chocolate, the Aeroccino 4’s varied settings offer greater creative freedom.
- Budget: The Aeroccino 3 is typically the most budget-friendly option, while the Aeroccino 4 and XL come with a higher price tag due to their enhanced features and capacity.
- Kitchen Space: The Aeroccino 3 and 4 are compact and take up minimal counter space. The Aeroccino XL, being larger, requires more dedicated room.
- Ease of Cleaning: For ultimate convenience, the dishwasher-safe jug of the Aeroccino 4 is a major plus. The Aeroccino 3 and XL require hand-washing, though their non-stick coating makes this relatively easy.
Mastering Your Nespresso Aeroccino: Usage Tips for Perfect Froth
Achieving consistently perfect milk froth is simple with a Nespresso Aeroccino. Here are some expert tips to guide you:
- Choose the Right Milk: For optimal froth, use cold (around 4-6°C) semi-skimmed or full-fat pasteurized dairy milk. While alternative milks can be frothed, results may vary. Avoid using frozen, special enriched, powdered, or flavored milks, as these can affect froth quality and potentially damage the coating of the jug.
- Observe Fill Levels: All Aeroccino models have clearly marked maximum fill lines inside the jug. For frothing, fill to the lower indicator line to allow space for the milk to expand. If you’re simply heating milk without frothing, you can fill it to the higher “hot milk” line. Overfilling can lead to spills.
- Simple Operation: For the Aeroccino 3, a short press of the button activates hot frothing, while holding it down for about two seconds initiates cold frothing. The Aeroccino 4 offers dedicated buttons for different foam textures, simplifying the process of selecting your desired result.
- Avoid Additives: Do not add sugar, syrups, chocolate powder, or any other ingredients directly into the Aeroccino jug during the frothing process. These can burn onto the non-stick surface, making cleaning difficult and potentially damaging the coating. Add them after the frothing is complete.
> “The secret to café-quality drinks at home isn’t just about the coffee; it’s about mastering the milk. The Aeroccino takes the guesswork out of frothing, giving you consistent results every time.” – Admin, ReviewnBrew
Care and Maintenance: Keeping Your Nespresso Aeroccino Pristine
Proper care and maintenance will ensure your Nespresso Aeroccino continues to deliver delicious froth for years to come.
- Immediate Cleaning is Key: Always clean your Aeroccino immediately after each use. This prevents milk residue from drying and sticking, which can be difficult to remove and affect future froth quality.
- Disassemble for Cleaning: For the Aeroccino 3 and XL, remove the whisk and detach the spring for thorough cleaning. The lid seal should also be removed. Wash these components, along with the inside of the jug, using hot water and a mild cleaning agent. The Aeroccino 4 offers the convenience of being dishwasher safe (at no higher than 70°C for optimal care), making cleanup even easier.
- Dry Thoroughly: Before placing the jug back on its base, ensure both the bottom of the jug and the connectors on the base are completely dry. Moisture can interfere with operation and potentially cause issues.
- Troubleshooting Common Issues:
- Poor Froth Quality or Burnt Milk: Ensure you’re using cold, fresh, pasteurized milk and that the jug and whisk are thoroughly clean.
- Milk Overflow: Check that you haven’t exceeded the maximum fill line for frothing.
- Blinking Lights (Error): If the lights blink rapidly (especially on Aeroccino 4), the appliance might be too hot (cool it under water), or there might not be enough milk. Ensure the whisk is correctly attached and there’s no water on the base connectors.
Conclusion
The Nespresso Aeroccino milk frother is an indispensable tool for anyone looking to elevate their home coffee experience. Whether you opt for the straightforward Aeroccino 3, the versatile Aeroccino 4, or the high-capacity Aeroccino XL, you’re investing in the ability to create consistently delicious, professionally frothed milk with remarkable ease. With its intuitive operation and sleek design, the Aeroccino transforms ordinary coffee into an extraordinary indulgence, bringing the luxury of your favorite cafe right to your kitchen counter. Why settle for plain coffee when you can enjoy a creamy, foamy masterpiece every day?
Frequently Asked Questions
Do I need a Nespresso coffee machine to use an Aeroccino milk frother?
No, the Nespresso Aeroccino is a standalone device that works independently of a coffee machine. You can use it to froth milk for any coffee, hot chocolate, or other beverages, regardless of your coffee maker brand.
Can I use non-dairy milk alternatives in my Nespresso Aeroccino?
Yes, most non-dairy milks like oat, soy, and almond milk can be frothed in a Nespresso Aeroccino. However, the frothing quality can vary significantly between brands and types of non-dairy milk. For best results, use “barista blend” versions of plant-based milks, which are specifically formulated for frothing.
How long does it take for the Nespresso Aeroccino to froth milk?
The Nespresso Aeroccino is very quick. Typically, it takes about 60 to 80 seconds to produce hot or cold milk froth, depending on the model and desired texture. The Aeroccino XL, with its larger capacity, may take slightly longer.
What causes my Aeroccino milk frother to stop working or show error lights?
Common issues include the appliance being too hot (clean it under cool water), not enough milk (ensure you’re above the minimum fill line), or improper placement of the jug or whisk. Always ensure the jug and whisk are clean and dry, and that the jug is correctly positioned on its base.
Can I make cold foam with a Nespresso Aeroccino?
Absolutely! All Nespresso Aeroccino models are designed to create delicious cold milk foam, perfect for iced coffees and refreshing beverages. On the Aeroccino 3, you typically press and hold the button for about two seconds to activate the cold frothing mode. The Aeroccino 4 has a dedicated button for cold froth.
Get our weekly buyer guide
Practical specs, not advice. Unsubscribe anytime.
